Last update: April 1, 2024.
MySQL, Apache2 and PHP are already installed. The basics of our future WSL development environment. Let’s go ahead and install the necessary frameworks. We’ll need at least Node.js 18.x later, but we can’t get it from the built-in sources, the Ubuntu repositories on our WSL host we just created. Therefore, we have to transfer it through packages from other sources.
~$ sudo apt-get update && sudo apt-get upgrade -y &&sudo apt-get install -y ca-certificates curl gnupg
~$ curl -fsSL https://deb.nodesource.com/gpgkey/nodesource-repo.gpg.key | sudo gpg --dearmor -o /etc/apt/keyrings/nodesource.gpg
~$ NODE_MAJOR=20
~$ echo "deb [signed-by=/etc/apt/keyrings/nodesource.gpg] https://deb.nodesource.com/node_$NODE_MAJOR.x nodistro main" | sudo tee /etc/apt/sources.list.d/nodesource.list
~$ sudo apt-get update && sudo apt-get install nodejs 7zip -y  // It is also worth installing the 7z compression application, composer requires it.
Now if you type node -v you must see something above 18. So it is time to get the Composer.
~$ php -r "copy('https://getcomposer.org/installer', 'composer-setup.php');"
~$ php -r "if (hash_file('sha384', 'composer-setup.php') === 'edb40769019ccf227279e3bdd1f5b2e9950eb000c3233ee85148944e555d97be3ea4f40c3c2fe73b22f875385f6a5155') { echo 'Installer verified'; } else { echo 'Installer corrupt'; unlink('composer-setup.php'); } echo PHP_EOL;" // It is not necessary! But you if want to be very secure, and it it says "Installer corrupt", please go to the Download Composer page, then copy and run the command that lookalike.
~$ php composer-setup.php
~$ php -r "unlink('composer-setup.php');"
~$ sudo mv composer.phar /usr/local/bin/composer // Move it to /usr/local/bin, to be available from everywhere.
~$ composer global require laravel/installer
To make laravel globally available add it’s path to the PATH environment/home/UserName/.composer/vendor/bin to your .bashrc and reload it.
>$ echo 'export PATH="$PATH:$HOME/.config/composer/vendor/bin"' >> ~/.bashrc //you can check it by the command tail .bashrc
>$ source .bashrc //  reload it, to set PATH
>$ env $PATH This is how you check the path. At the end of it you will see /home/UserName/.composer/vendor/bin
For other systems where there is no ~/.bashrc, you can do it with ~/.bash_profile
Next, we install the Laravel launch environment. In other words, no. Laravel does not need to be installed in the traditional sense of the word. We create our first Laravel project and that!s all.
~$ laravel new AppName
During the installation, options must be selected from time to time, from which you can select with the up and down arrows and continue with the enter key.
The The following options must be selected:
- Would you like to install a starter kit? -> No starter kit
- Which testing framework do you prefer? We don’t care about that now, just press enter.
- Would you like to initialize a Git repository? We don’t care about that now, just press enter.
- Which database will your application use? -> MySQL
- Default database updated. Would you like to run the default database migrations? -> Stop for now.
At this point, stop, duplicate your linux shell tab, switch to it, go into the AppName directory and edit the .env file. There is a section originally looking like this:
There is a section for mysql, change it like this:
DB_CONNECTION=mysql
DB_HOST=127.0.0.1
DB_PORT=3306
DB_DATABASE=AppName
DB_USERNAME=root
DB_PASSWORD=RootPassword
Let’s go back to the previous tab and press enter. When the next question appears, press again.
Once the project has been created, install the required Node.JS packges in the other tab, and then run the npm service.
>$ npm install
>$ npm run dev
Back to the original tab, and let’s our application.
~$ php artisan serve // You can stop it any time with Ctrl-C
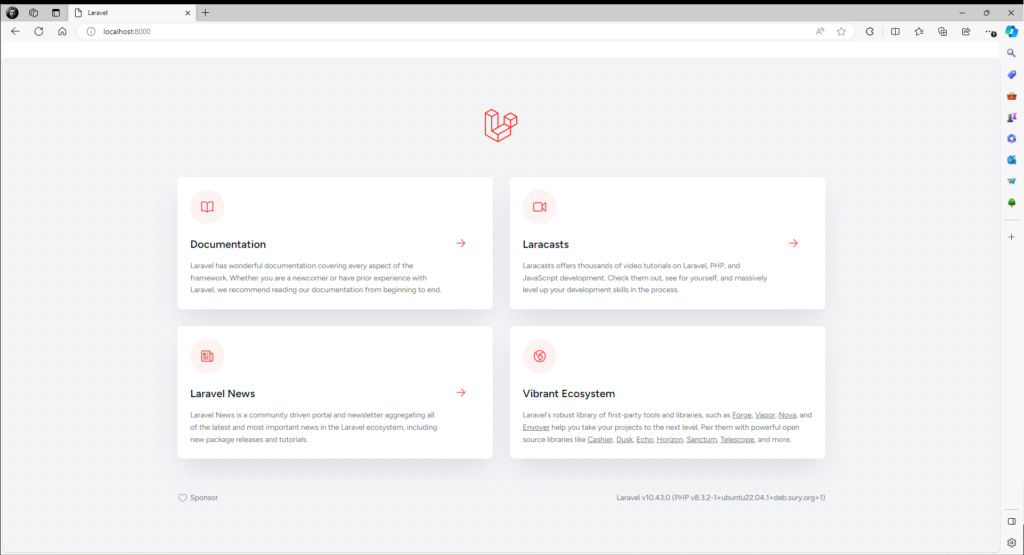
Once you have started the Artisan development server, your application will be accessible in your web browser at http://localhost:8000.

Next we install the Laravel Breeze, a minimal, simple implementation of all of Laravel’s authentication features, including login, registration, password reset, email verification, and password confirmation. Once installed, you are welcome to customize the components to suit your needs. But before we do that, we need to provide access to the database server. To do this, the given lines must be edited in a file called .env in the same directory. After editing press Ctrl-O, ENTER, then Ctrl-X to save the file.
~$ nano .env
DB_CONNECTION=mysql
DB_HOST=127.0.0.1
DB_PORT=3306
DB_DATABASE=laravel
DB_USERNAME=root
DB_PASSWORD=password // in this example this password is the same we set up in the  Creating a WSL Development Environment tutorial, but later if possible don't give root access on public server.
Laravel Breeze offers many options for the view layer, including Blade templates or Vue and React with Inertia. In this tutorial, you can choose between Vue or React. Open a new terminal in your exmple project directory and install the selected stack using the following commands:
~$ composer require laravel/breeze --dev
~$ php artisan breeze:install vue
Breeze installs and configures the front-end dependencies, so we just need to start the Vite development server to enable hot swapping while building our app:
~$ npm run dev
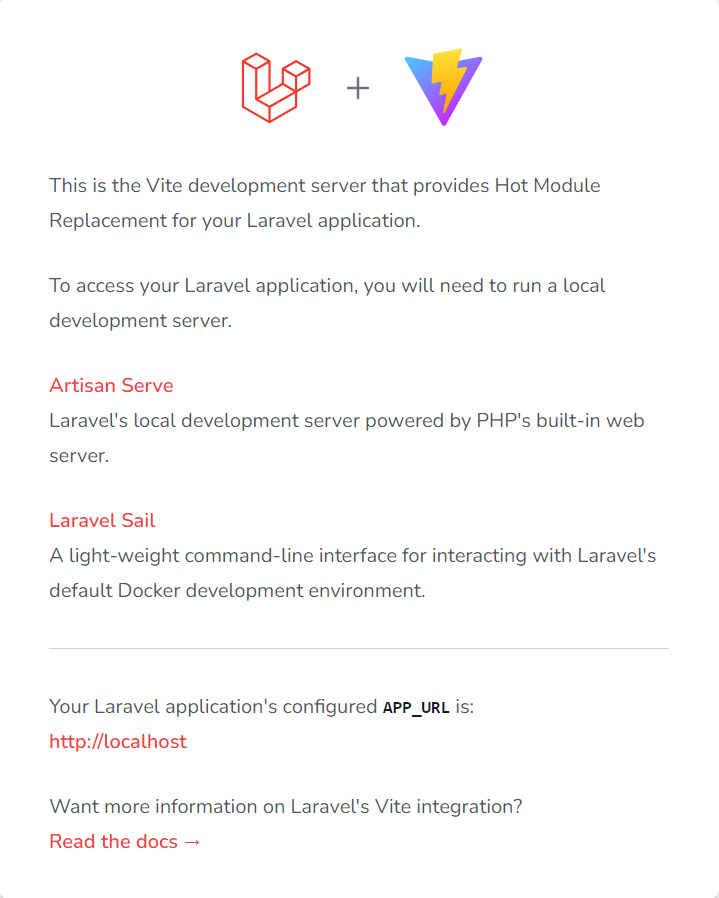
If you look at http://localhost:5173/ you should see the Laravel Vite page as shown below:

Finally, open another terminal in the sample application project directory and run the initial database migrations to populate the database with Laravel and Breeze default tables:
~$ php artisan migrate
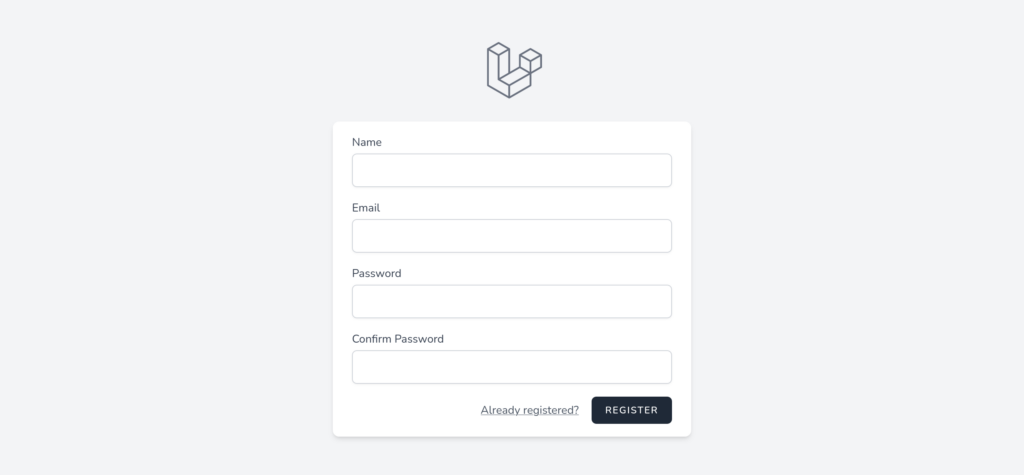
If the database specified in the .env file does not yet exist, the system prompts: Database ‘example_app’ does not exist on connection ‘mysql’. Would you like to create it? Just use the left cursor key to select yes and press ENTER. If you refresh your new Laravel application in the browser, you should now see a “Register” link at the top-right. Follow that to see the registration form provided by Laravel Breeze.

And that’s for all now.

One Reply to “Install the Frames”