Last updated: April 2, 2024
WSL is Windows’ built-in (for me, development) environment for running Linux systems, which has evolved a lot over the years. At the time of its release, only Ubuntu was available, and even a simple Apache server could not really be installed with it. Today it is possible to choose (among others) the popular Debian distribution and install a fully usable server, with minor or major restrictions. However, we stick to installing Ubuntu as it still has many advantages over other distributions under WSL.
The Very Beginning
Recently, Windows 10 is becoming rarer and the WSL subsystem is more difficult to manage, so we will only talk about installation under Windows 11 and the use of the WSL2 subsystem.
First of all, it is worth pinning a command line on the taskbar. It is quickly available, and by clicking on it with the right mouse button, you can choose exactly what to start. There is no need to select the first time, simply start it as usual. When the command line prompt appears, type the following:
wsl --install
It will ask for a Linux username, and the password for the given user. Finally appears a standard Linux shell with a user prompt ($) at its end. Now we are ready to install the services of our local developer server. First of all we need to update the default installed packages. Don’t be surprised, it will ask your password you given before.
~$ sudo apt update && sudo apt upgrade -y // sometimes it leads to an error message, referring a missing permission to create lock. Just try to split and run it in two lines 'sudo apt update' and 'sudo apt upgrade -y'
After all packages are updated, we can install the packages we will use for development. Since we will be using the default packages instead of the packages of the actual versions, they can be updated very easily later. We start with the MariaDB Server.
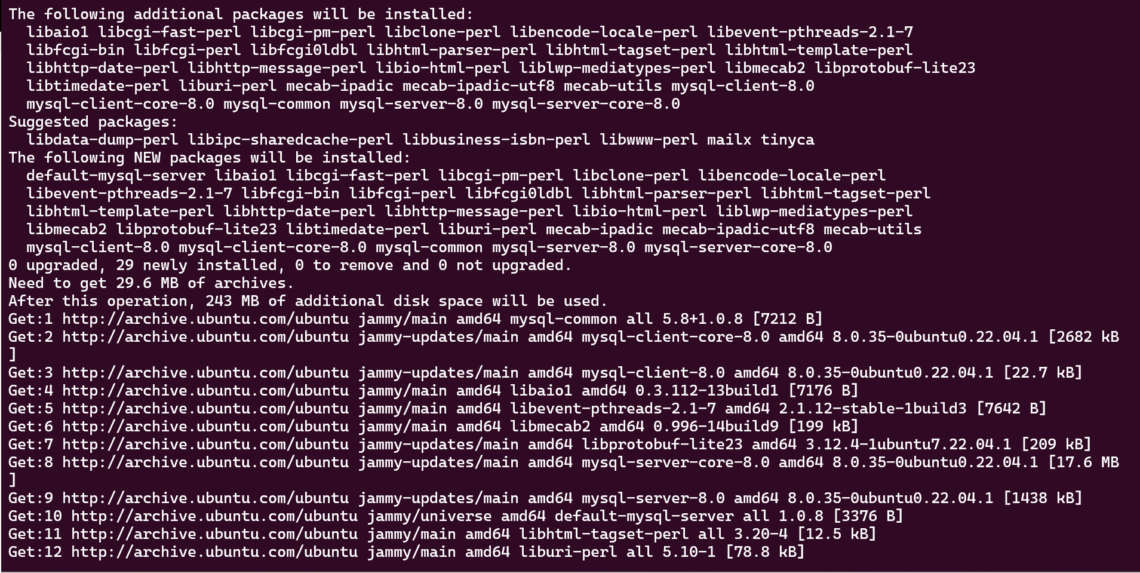
~$ sudo apt install default-mysql-server -y
Now we install the Apache HTTP server.
~$ sudo apt install apache2 -y // After it run successfully and you open localhost, you can see the default page of Ubuntu Apache2.
To use the latest Laravel, we will need at least version 8.3 of PHP-FPM, but we cannot get it from the built-in sources, from the Ubuntu repositories of the WSL station we created. This will be a relatively long process, so I won’t explain it step by step.
~$ sudo add-apt-repository ppa:ondrej/php -y  // If it runs, but doesn't seem to end, please stop it with Ctrl-C, uncomment the 'precedence ::ffff:0:0/96 100' line in etc/gai.conf, and try again.
~$ sudo apt update && sudo apt upgrade -y
~$ sudo apt install php-fpm -y // after the installation is complete, you should see some lines like "To enable PHP 8.x FPM in Apache2, do: a2enmod proxy_fcgi setenvif" and "a2enconf php8.x-fpm". So let's do it. In my case, the version is 8.3, so that's what I'm using in the example.
~$ sudo a2enmod proxy_fcgi setenvif && sudo a2enconf php8.3-fpm && sudo systemctl restart apache2
Finally, we install the phpMyAdmin package, which we use to check that everything is in order, and later it will be useful for administering our databases. Three dialogs will appear during the installation. In every cases, choose the default options (Apache2 in the first case, and yes in the second and the third case).
~$ sudo apt install phpmyadmin -y


MySQL installs without specifying a root password, and the shell does not even ask for a root password at login. On the other hand, phpMyadmin does not allow the root user to login without a password by default. Therefore, we now need to specify a root password to log in with it.
~$ sudo mysql -u root
mysql> use mysql;
mysql> ALTER USER 'root'@'localhost' IDENTIFIED WITH mysql_native_password BY 'new-password'; // write your own password instead of new-password and save it somewhere
mysql> FLUSH PRIVILEGES;
mysql> exit;
Now open localhost/phpmyadmin. On login give the username root, and your newly set password and log in. You must see your admin interface.
That’s all for now. Your basic WSL server is up and running. And every time, when you right click on your Terminal icon and choose Ubuntu after a fresh Windows boot, it starts again.
